Raleigh NC Triangle Sealcoating Experts
Contact Us For A Quote Today!
A BIT ABOUT US.
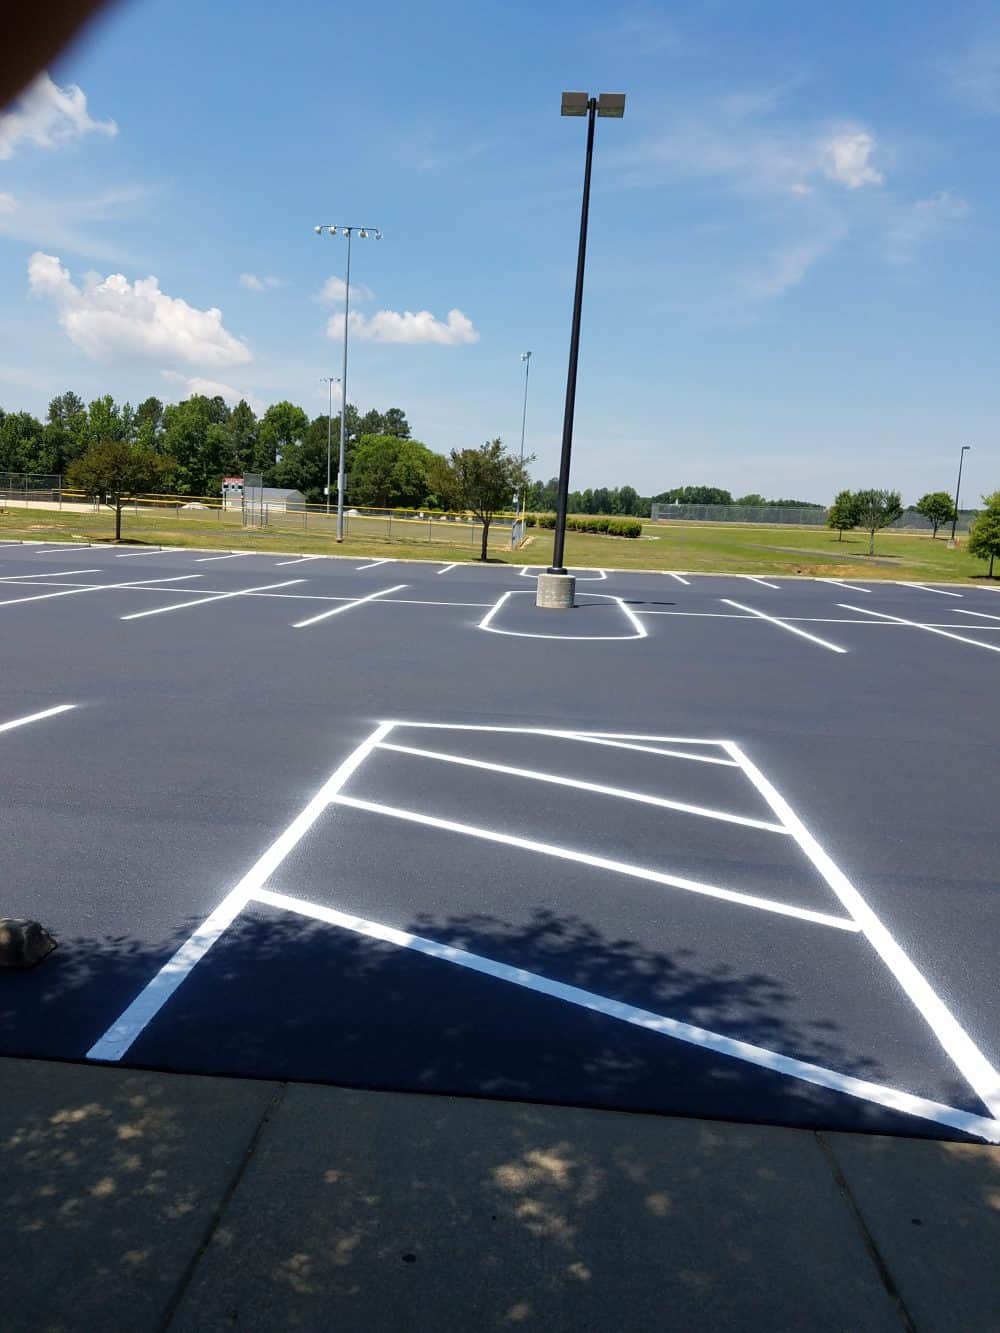
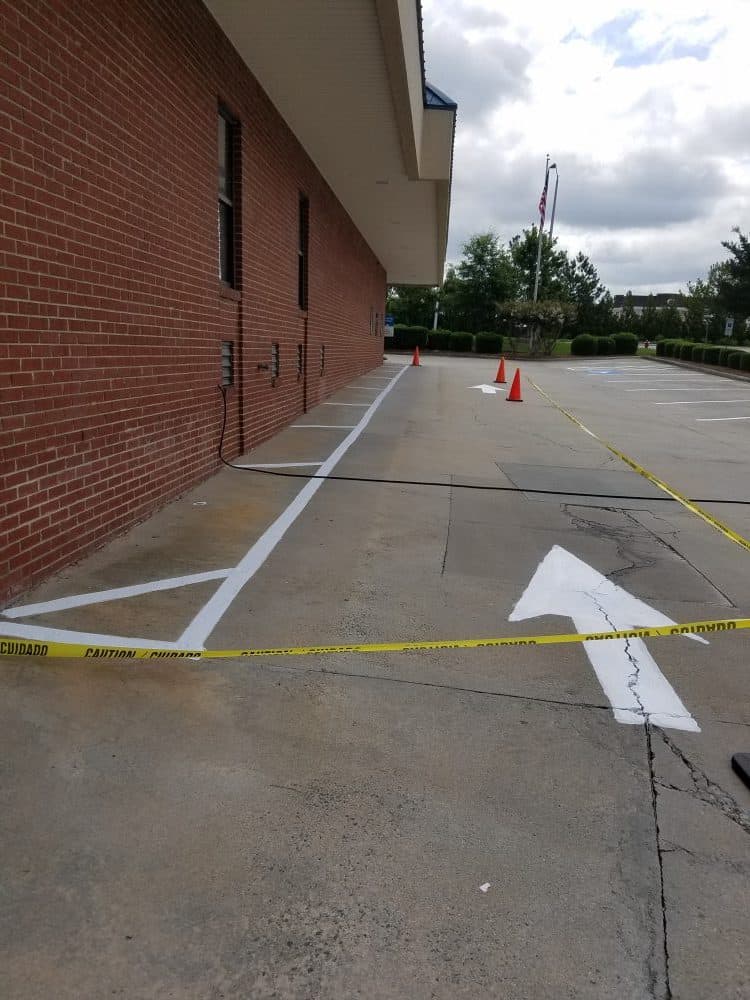
At Raleigh Sealcoating & Striping we specialize in sealcoating and parking lot line striping specifically, we are the masters of repairing and maintaining solid surfaces and marking them perfectly. If you have had a parking lot for a while now and never even thought about re-doing it, it’s time for you to look into sealcoating.
Sealcoating is the best way to maintain your parking lot, and beyond that it can add years to its lifespan! We have years of experience with asphalt repair and maintenance, so you can trust us to get your parking lot looking and performing the very best it possibly can. We take pride in being completely federally and state compliant with all of our line striping, we take the ADA very seriously.


ARE YOU CONVINCED YET?
WHAT OUR CLIENTS THINK.
Having a perfectly laid pavement is essential. And you guys do it just right. Your trustworthy team does their job really well, even without supervision!
You guys actually swooped in like saviours – my shabby pavement looks all brand new now! And your team has great attention to details – right from the first step till the actual paving! I'm thrilled with your services!
LATEST NEWS.
What Log Moisture Mistakes Cost New Homeowners?
What Log Moisture Mistakes Cost New Homeowners?
A Rainy Spring Wake-Up Call
Picture this: you close on your dream log home just as spring rains pound the roof. Excitement fades fast when dark stains bloom on the bottom logs after the first downpour. That soggy thrill turns to dread. New owners often overlook how unchecked moisture sneaks in during wet seasons, setting off a chain of hidden damage. One overlooked drip leads to rot that spreads quietly for years.
Moisture doesn’t announce itself with fanfare. It seeps through overlooked gaps, pools against foundations, and lingers in shaded spots. By summer, those initial signs multiply into costly fixes. Understanding these early traps saves headaches down the line. Logs crave balance; too much water warps them, too little cracks them wide open.
Bottom Logs Meet Their Match
The lowest row of logs bears the brunt of ground moisture. Rain splashes up from soil, dirt cakes on during storms, and poor drainage keeps everything damp. Within two years, moss creeps in, followed by soft spots that signal rot starting. New homeowners skip elevating these logs, thinking the foundation handles it all. Reality hits when probing a screwdriver sinks in easily, confirming decay has begun.
Foundations need at least two feet of height before logs start, with sloped grading directing water away. Clean the base logs twice yearly; brush off debris and moss before it roots. This simple ritual prevents fungus from taking hold. Ignore it, and replacement logs become inevitable after five damp seasons.
Take Sarah’s case last spring. She bought her cabin overlooking a creek, thrilled by the view. Heavy April rains soaked the low bottom logs since the site sloped toward the house. By fall, dark stains turned spongy; rot had eaten halfway through two logs. She spent weekends scraping and treating, but pros confirmed full replacement was needed. A quick grade adjustment now keeps water flowing away.
Chinking Cracks Let Water Win
Logs shift as they dry, shrinking up to six inches over the first few years. Chinking seals those gaps, but cracks form if it’s not angled right or maintained. Water pools in those fissures during storms, wicking into the wood overnight. Fungus follows, staining logs black and weakening the structure. Check chink lines around windows and doors every six months; replace any that feel brittle.
Green logs, cut fresh, expand and contract wildly with humidity swings. Apply chinking after the initial shrink, then inspect post-winter. Soft, flexible types last longer in moist climates. Neglect this, and drafts join the moisture party, hiking energy use while rot advances.
Overlooked Roof and Plant Traps
Rain hammers unprotected roofs, channeling water straight to walls without gutters or overhangs. Extend overhangs 18 to 24 inches to shield siding; install gutters that empty far from the foundation. Clogged downspouts overflow, soaking logs in minutes. Flush them quarterly, especially after leaf fall.
Bushes hugging walls trap humidity like a sponge. Keep plants six feet out; their roots pull moisture close, fostering mold in shaded nooks. Gravel paths around the base double as barriers. Homeowners who invest in loghomebuildersnc.com services often notice drier conditions persisting through humid summers.
- Grade soil to slope one inch per foot away from walls for 10 feet out.
- Trim branches two feet clear of siding to cut trapped dampness.
- Install metal flashing over decks and roof joints to block splash-back.
- Test moisture with a meter; aim for 12 to 19 percent in logs.
- Caulk window sills annually, focusing on top edges where water pools.
Spotting Trouble Before It Spreads
Dark stains near seams scream moisture intrusion. Probe soft textures with a tool; resistance means health, give means rot lurking. Musty odors from base walls point to ground wicking up. Twice-yearly walks reveal these culprits early. A meter reading over 19 percent demands action, like drying out and resealing.
Mold thrives in damp shadows under decks. Lift siding edges to air them out. Cracked caulk around doors invites leaks during driving rain. Scrape, clean, and refill before winter seals everything in. These checks take an afternoon but halt progression from stain to structural fail.
Seasonal Checks That Stick
Every wet season reset means inspecting from foundation up. Spring reveals winter’s toll; fall preps for snow loads. Balance comes from consistent vigilance, not one-off efforts. Your log home thrives when moisture stays at bay, preserving that fresh wood scent for years.
How Do You Reset Your Home for the New Season?
How Do You Reset Your Home for the New Season?
Q: Why focus on air quality when resetting for a new season?
Season changes bring pollen, dust, and allergens indoors, irritating eyes and lungs. A reset clears these out for easier breathing. Homes in dry climates trap more particles without regular attention.
Q: How does cleaning reduce allergens in your home?
Dust mites thrive in fabrics and corners, stirring allergies year-round. Vacuuming and washing remove them effectively. Fresh air flows better after wiping surfaces free of buildup.
Q: What steps reset high-traffic areas for better air?
Start with entryways where outdoor allergens enter. Vacuum rugs deeply. Wipe doors and frames to catch pollen tracks.
- Vacuum upholstery and curtains to lift dust.
- Wash throw blankets in hot water.
- Clean air vents to improve circulation.
These quick moves cut airborne irritants fast.
Q: Can you share a real example of a seasonal reset?
Picture a family noticing stuffy noses as winter fades. They vacuumed mattresses, washed all bedding, and wiped baseboards. Breathing improved within days, letting everyone enjoy open windows.
Q: Which rooms need the most attention for allergy relief?
Bedrooms harbor dust in pillows and under beds. Bathrooms grow mold in damp spots. Kitchens collect greasy particles that cling to air.
Deep clean windows inside and out everywhere. Rotate mattresses to shake loose allergens.
Q: How do you maintain air quality after the reset?
Swap filters in vents seasonally. Declutter to limit dust traps. Open windows on mild days for natural airflow.
A refreshed home breathes easier, supporting health through changing weather. Tackle one room at a time for steady progress.